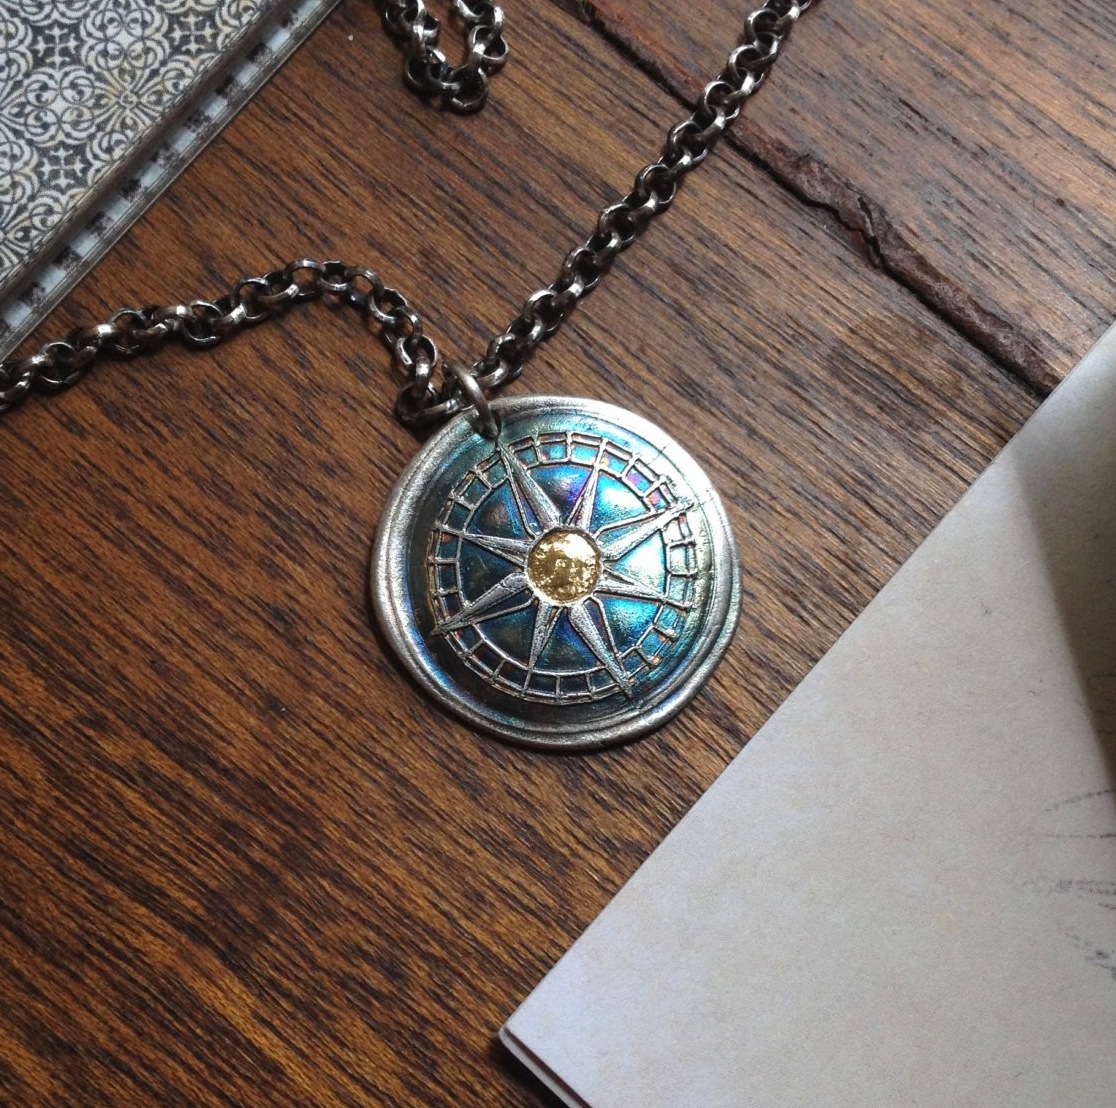
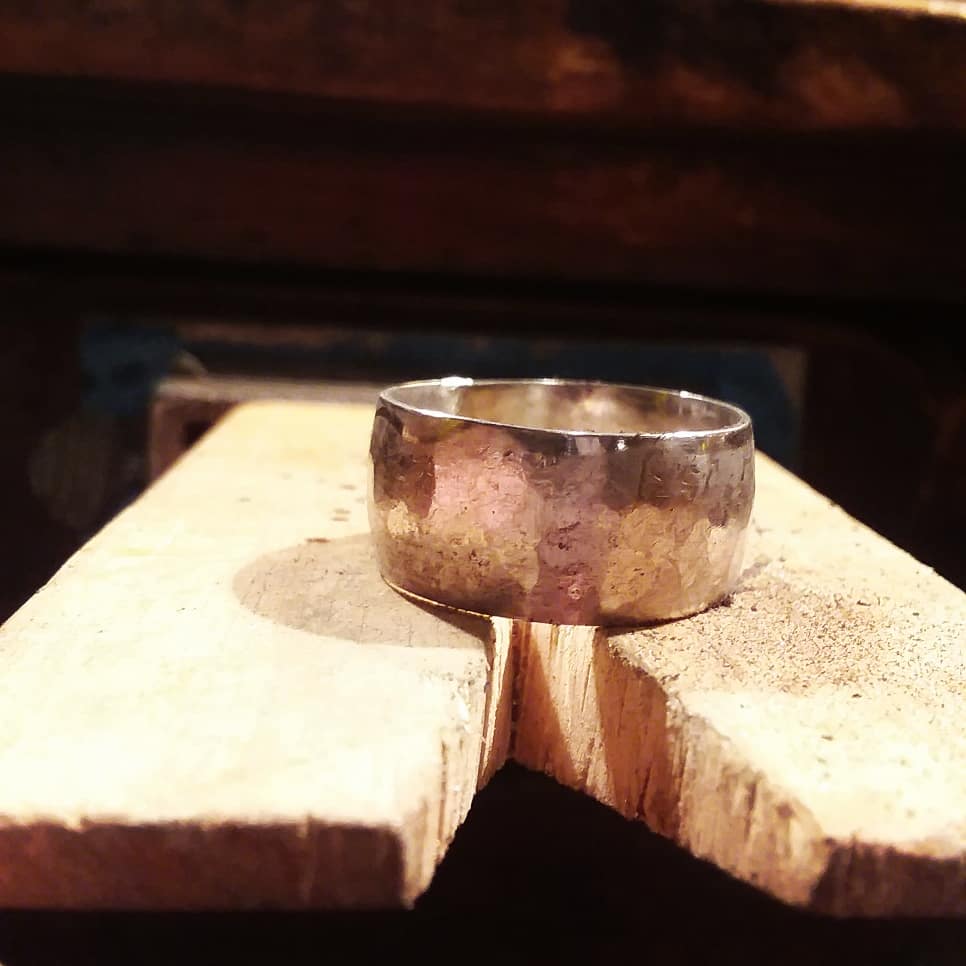
Creating my husband's wedding ring!
Learning the Art of Soldering will set you apart from all the other jewelry artists out there and will catapult you into the realm of the jewelry pros. Soldering your jewelry will truly open doors for you that you may not have even known were available.
If you want to set yourself apart from all the others and join the "higher-end" jewelry artists of the world, you need to start soldering ASAP! The techniques of soldering are such crucial arsenals to have in your creative pocket... and the funny thing is, they are relatively easy to learn.
Below is a list of the basic tools you’ll need to begin soldering your silver jewelry, in no particular order. These are my top choice tools and soldering must-haves. There are 5 absolute-need tools to begin soldering.
Torch, Solder Board, Solder, Flux, Pickle. These are my most used and ordered tools and supplies with links on where to purchase. If any links are lost or broken, please let me know and I will update for you. As always, please shop around to find the best deal for your budget and needs. I mostly order from RioGrande, CoolTools, Otto Frei and Amazon.
Torches
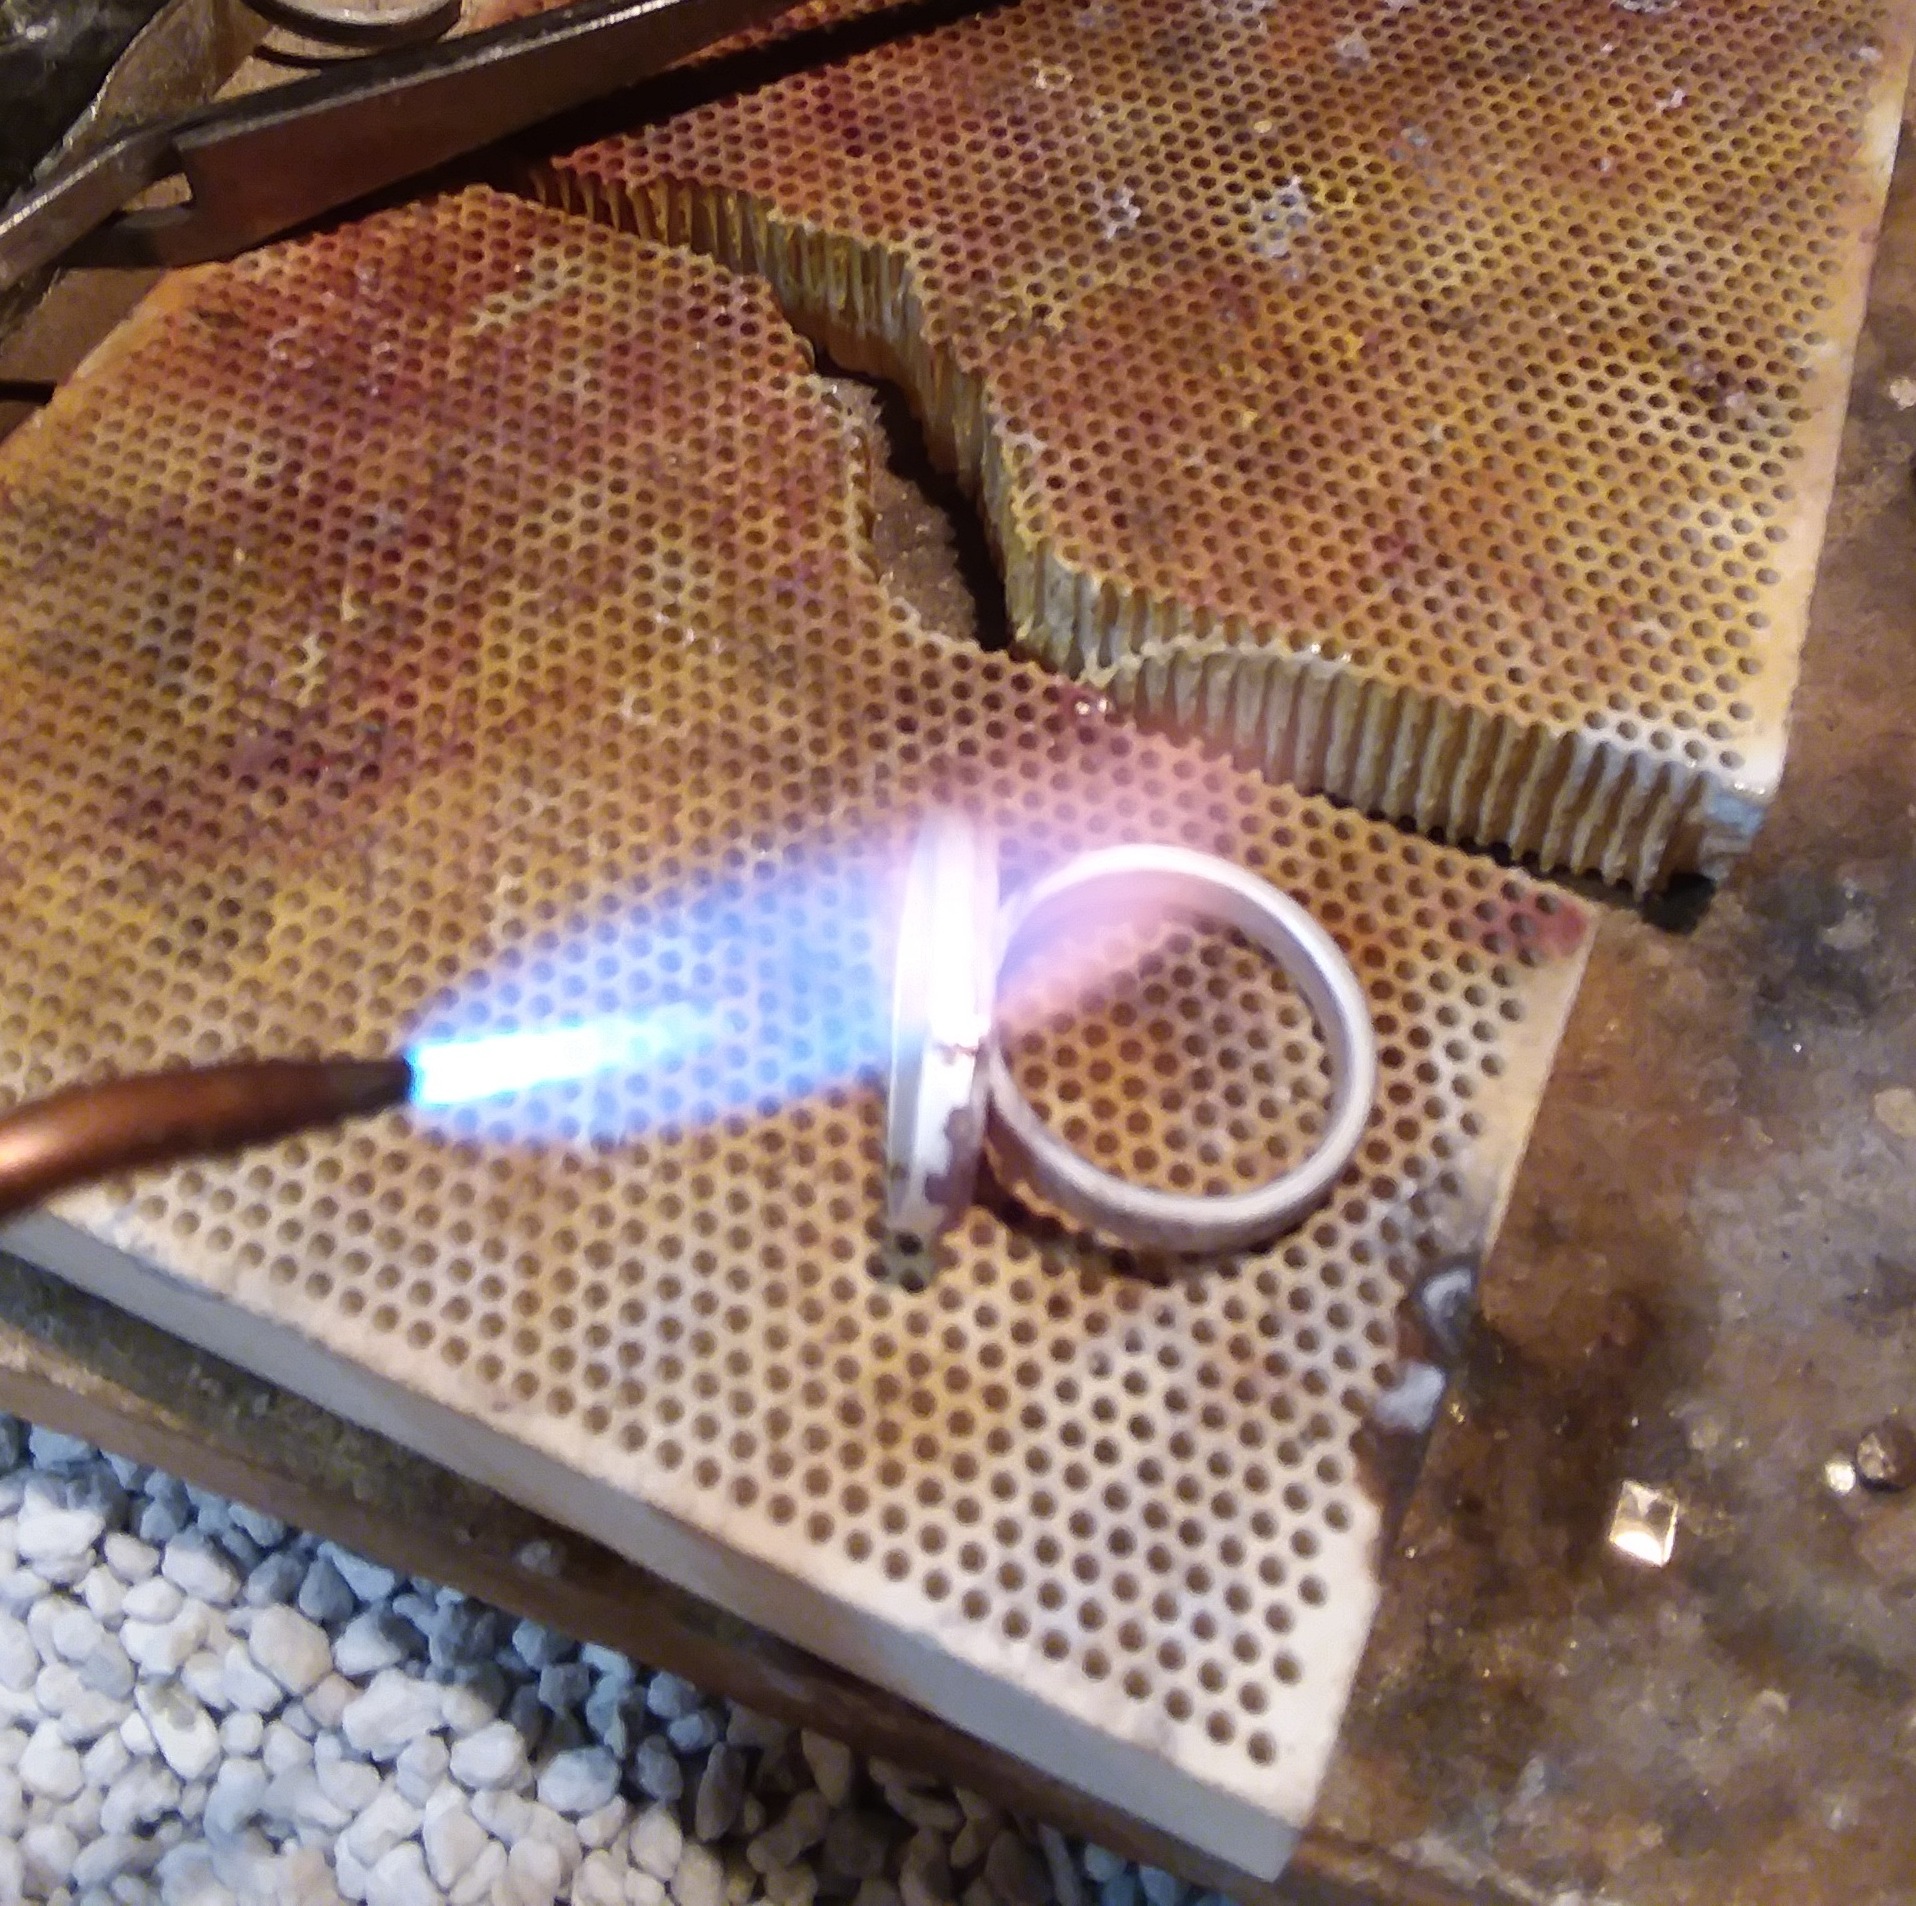
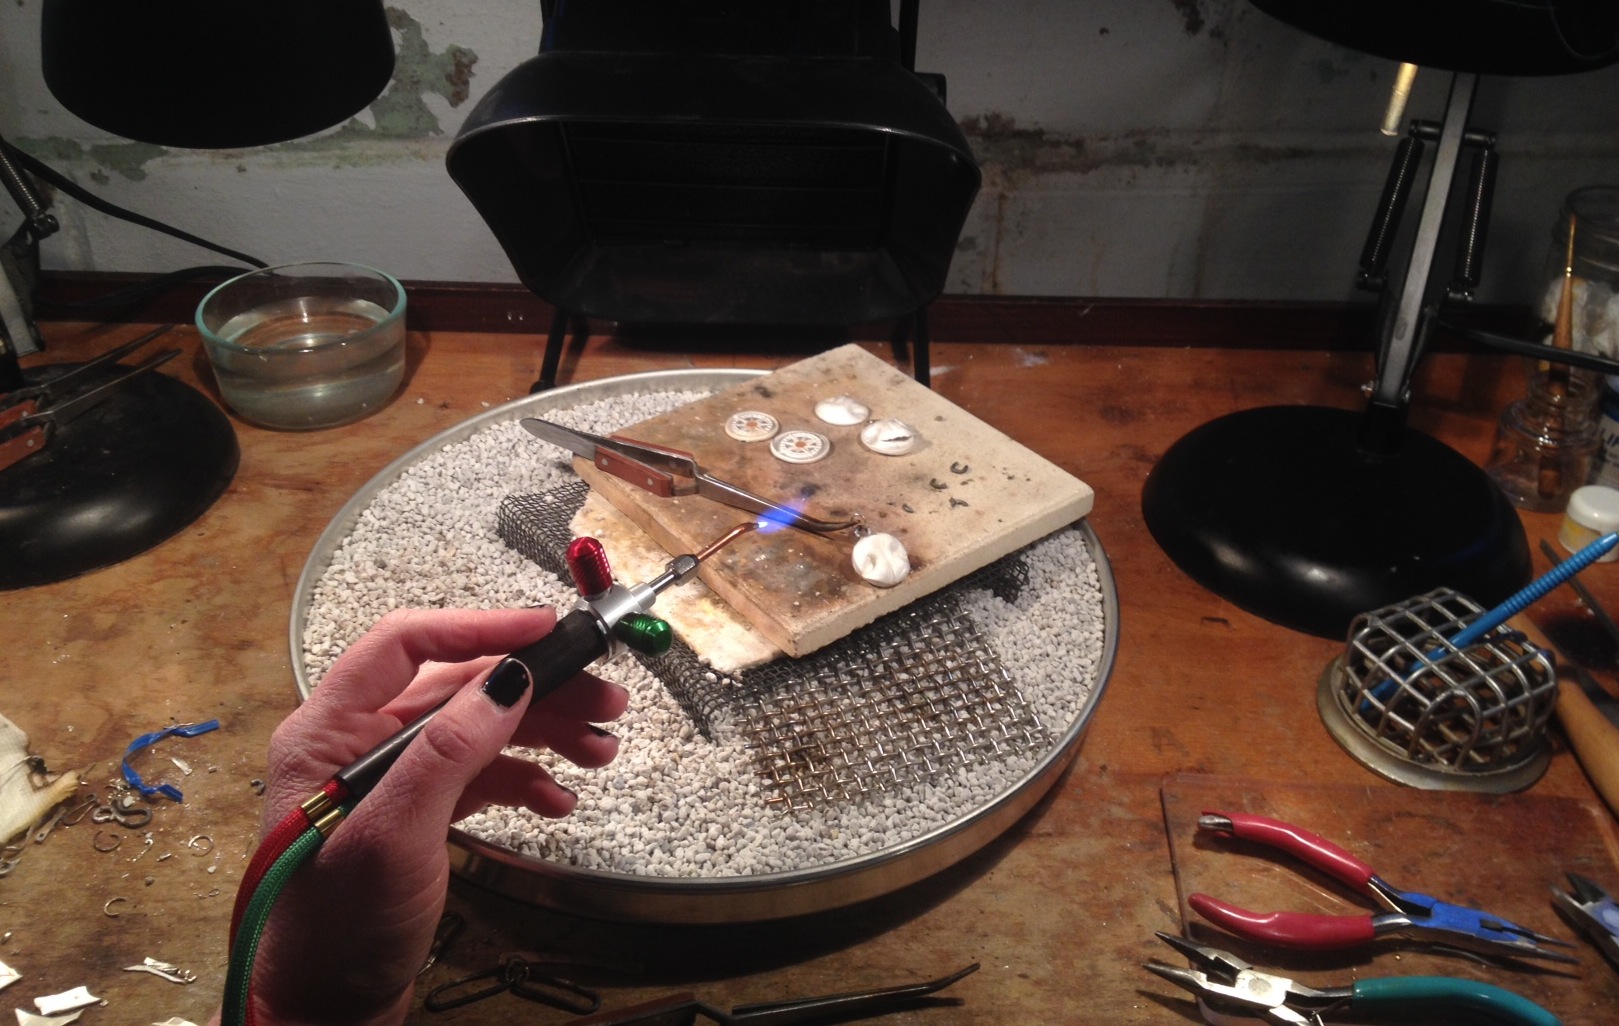
You need a heat source to solder silver. I started my journey with soldering with a butane torch with refillable butane fuel which handles smaller soldering needs when you’re first starting out, such as ear wires and jump rings. I chose the smallest torch I could find when I first started out (called a pencil torch) as it was easier for me to handle, lightweight and easy to store. Not to mention I was nervous to purposefully start an open flame in my house, but with some practice and my kitchen extinguisher close by, I lost my fear rather quickly. I purchased a bit larger butane torch after some frustration with my small pencil torch, and then upgraded again with a Smith Little Torch (using propane and oxygen) and I’m happy to say the upgrade has changed my work for the better.
Click for my favorite torch, using propane and oxygen
*Smith Little Torch with propane and oxygen tanks. Definitely a more expensive choice, but if you’re serious about upping your soldering game, I can’t recommend this option more. I choose propane as it burns cleaner than acetylene. It still scares me, but I love the versatility I have with all that heating potential. I haven’t come across an idea it won’t accomplish for me.
My most used torch tips: Tip #4 for tiny flame
Tip #6 for medium flame (most likely these will come with the Smith Little torch setup)
Rosebud tip for casting. If you need to melt down scrap silver or gold for casting or making ingots, you can use a #6 tip for about 2 oz or under. If over 3 oz, you’ll most likely need the rosebud tip, which has a long tubing with 6 flame orifices at tip for propane, 4 for acetylene.
Butane torch and butane fuel. This is an easy to use kitchen torch, a great starter choice for beginners. It’s relatively cheap to buy and not as scary as the big torch if you’re just starting out. When I first started, I chose a pencil torch with refillable butane fuel. I chose the smallest torch I could find as it was easier for me to handle, lightweight and easy to store.
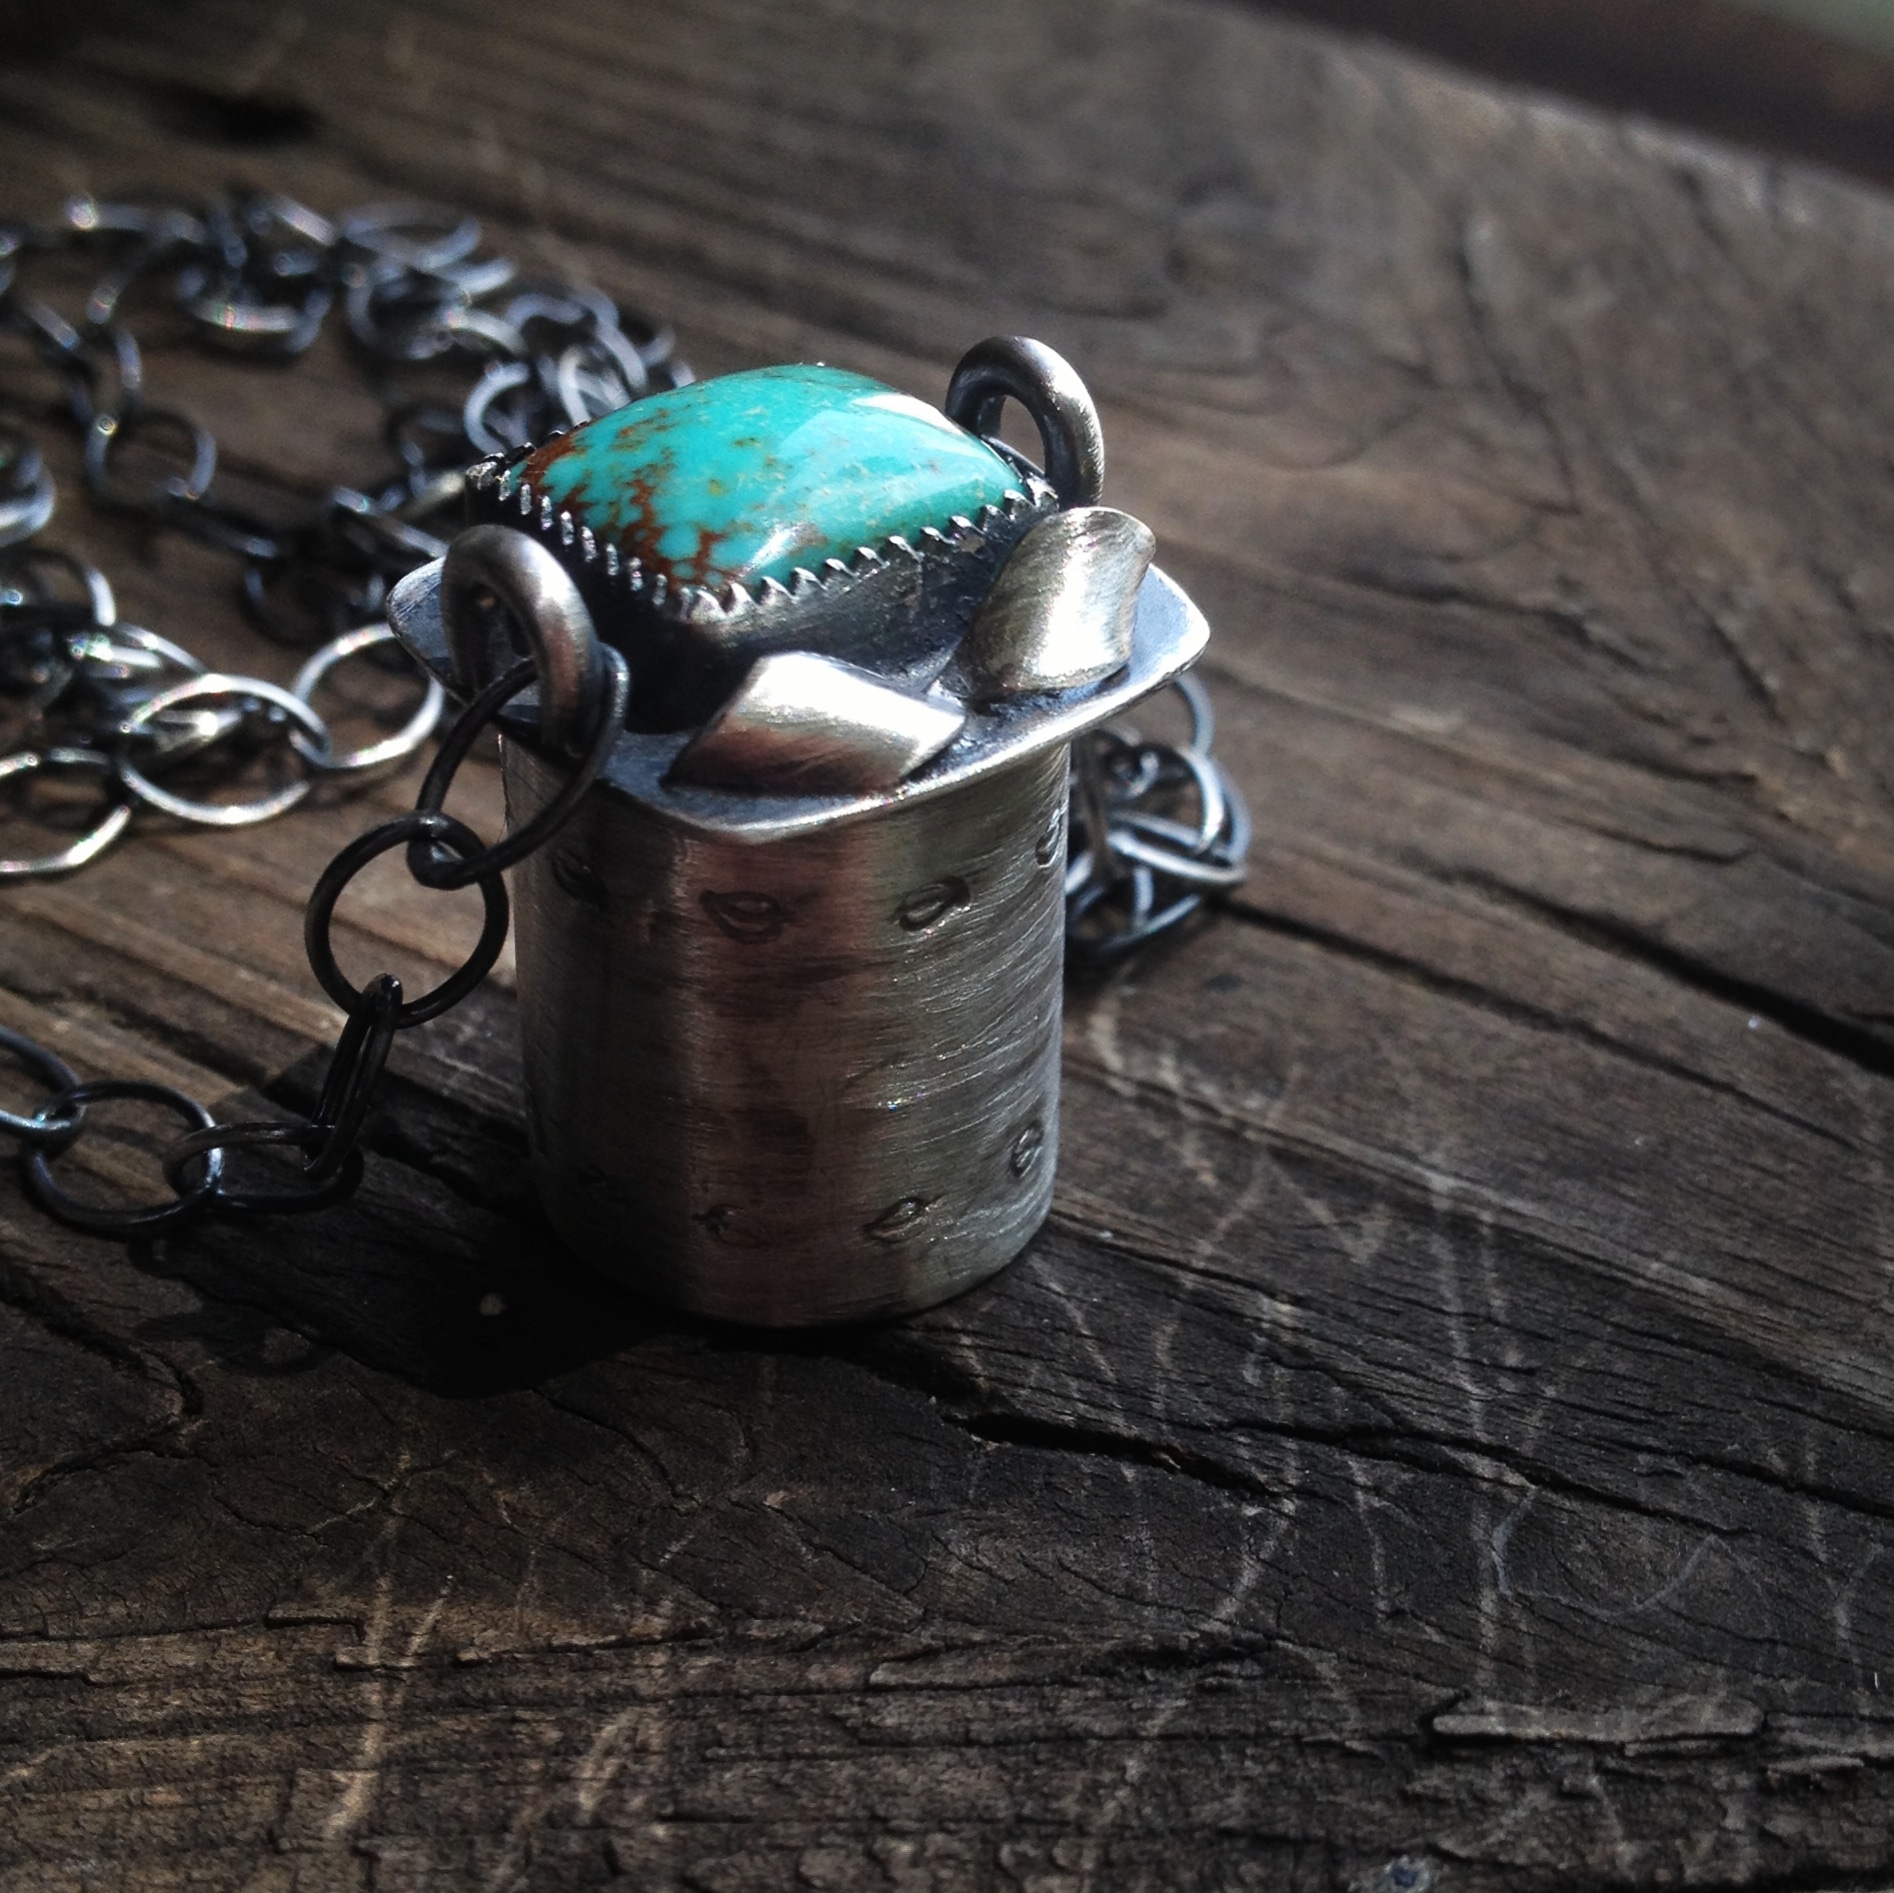
One of my first custom rollerball necklaces
Fear of the flame is the number one issue holding most people back from turning their average jewelry creations into spectacular pieces of art - valuable art! When I first started making jewelry, I knew I wanted to eventually learn to solder. But for the longest time, I never took the plunge because I was afraid. I was fearful of the unknown, and scared to death of the flame. But now that I’m on the other side of my fear, I wish I had bitten that flaming bullet so much earlier so I could have reaped the benefits of my success faster than I did!
Practice doesn’t make perfect, practice makes fun.
The day I bought my first torch, I was so nervous to light it that I read the directions 4 times, then took it outside on our deck to start it up for the first time - even though the directions said DONT DO THAT. Needless to say, the directions were right... the light breeze kept blowing out the flame, and I got more frustrated than I was scared. After a few minutes, I was over the fear I had been dreading for literally years! I packed everything up and headed back indoors to my studio where I was determined to get the thing to light. Lo and behold, it lit and I sat and watched the flame for a few minutes... so pretty! Then I commenced to melting stuff... And that’s when I discovered I had stumbled into a world of endless possibilities!
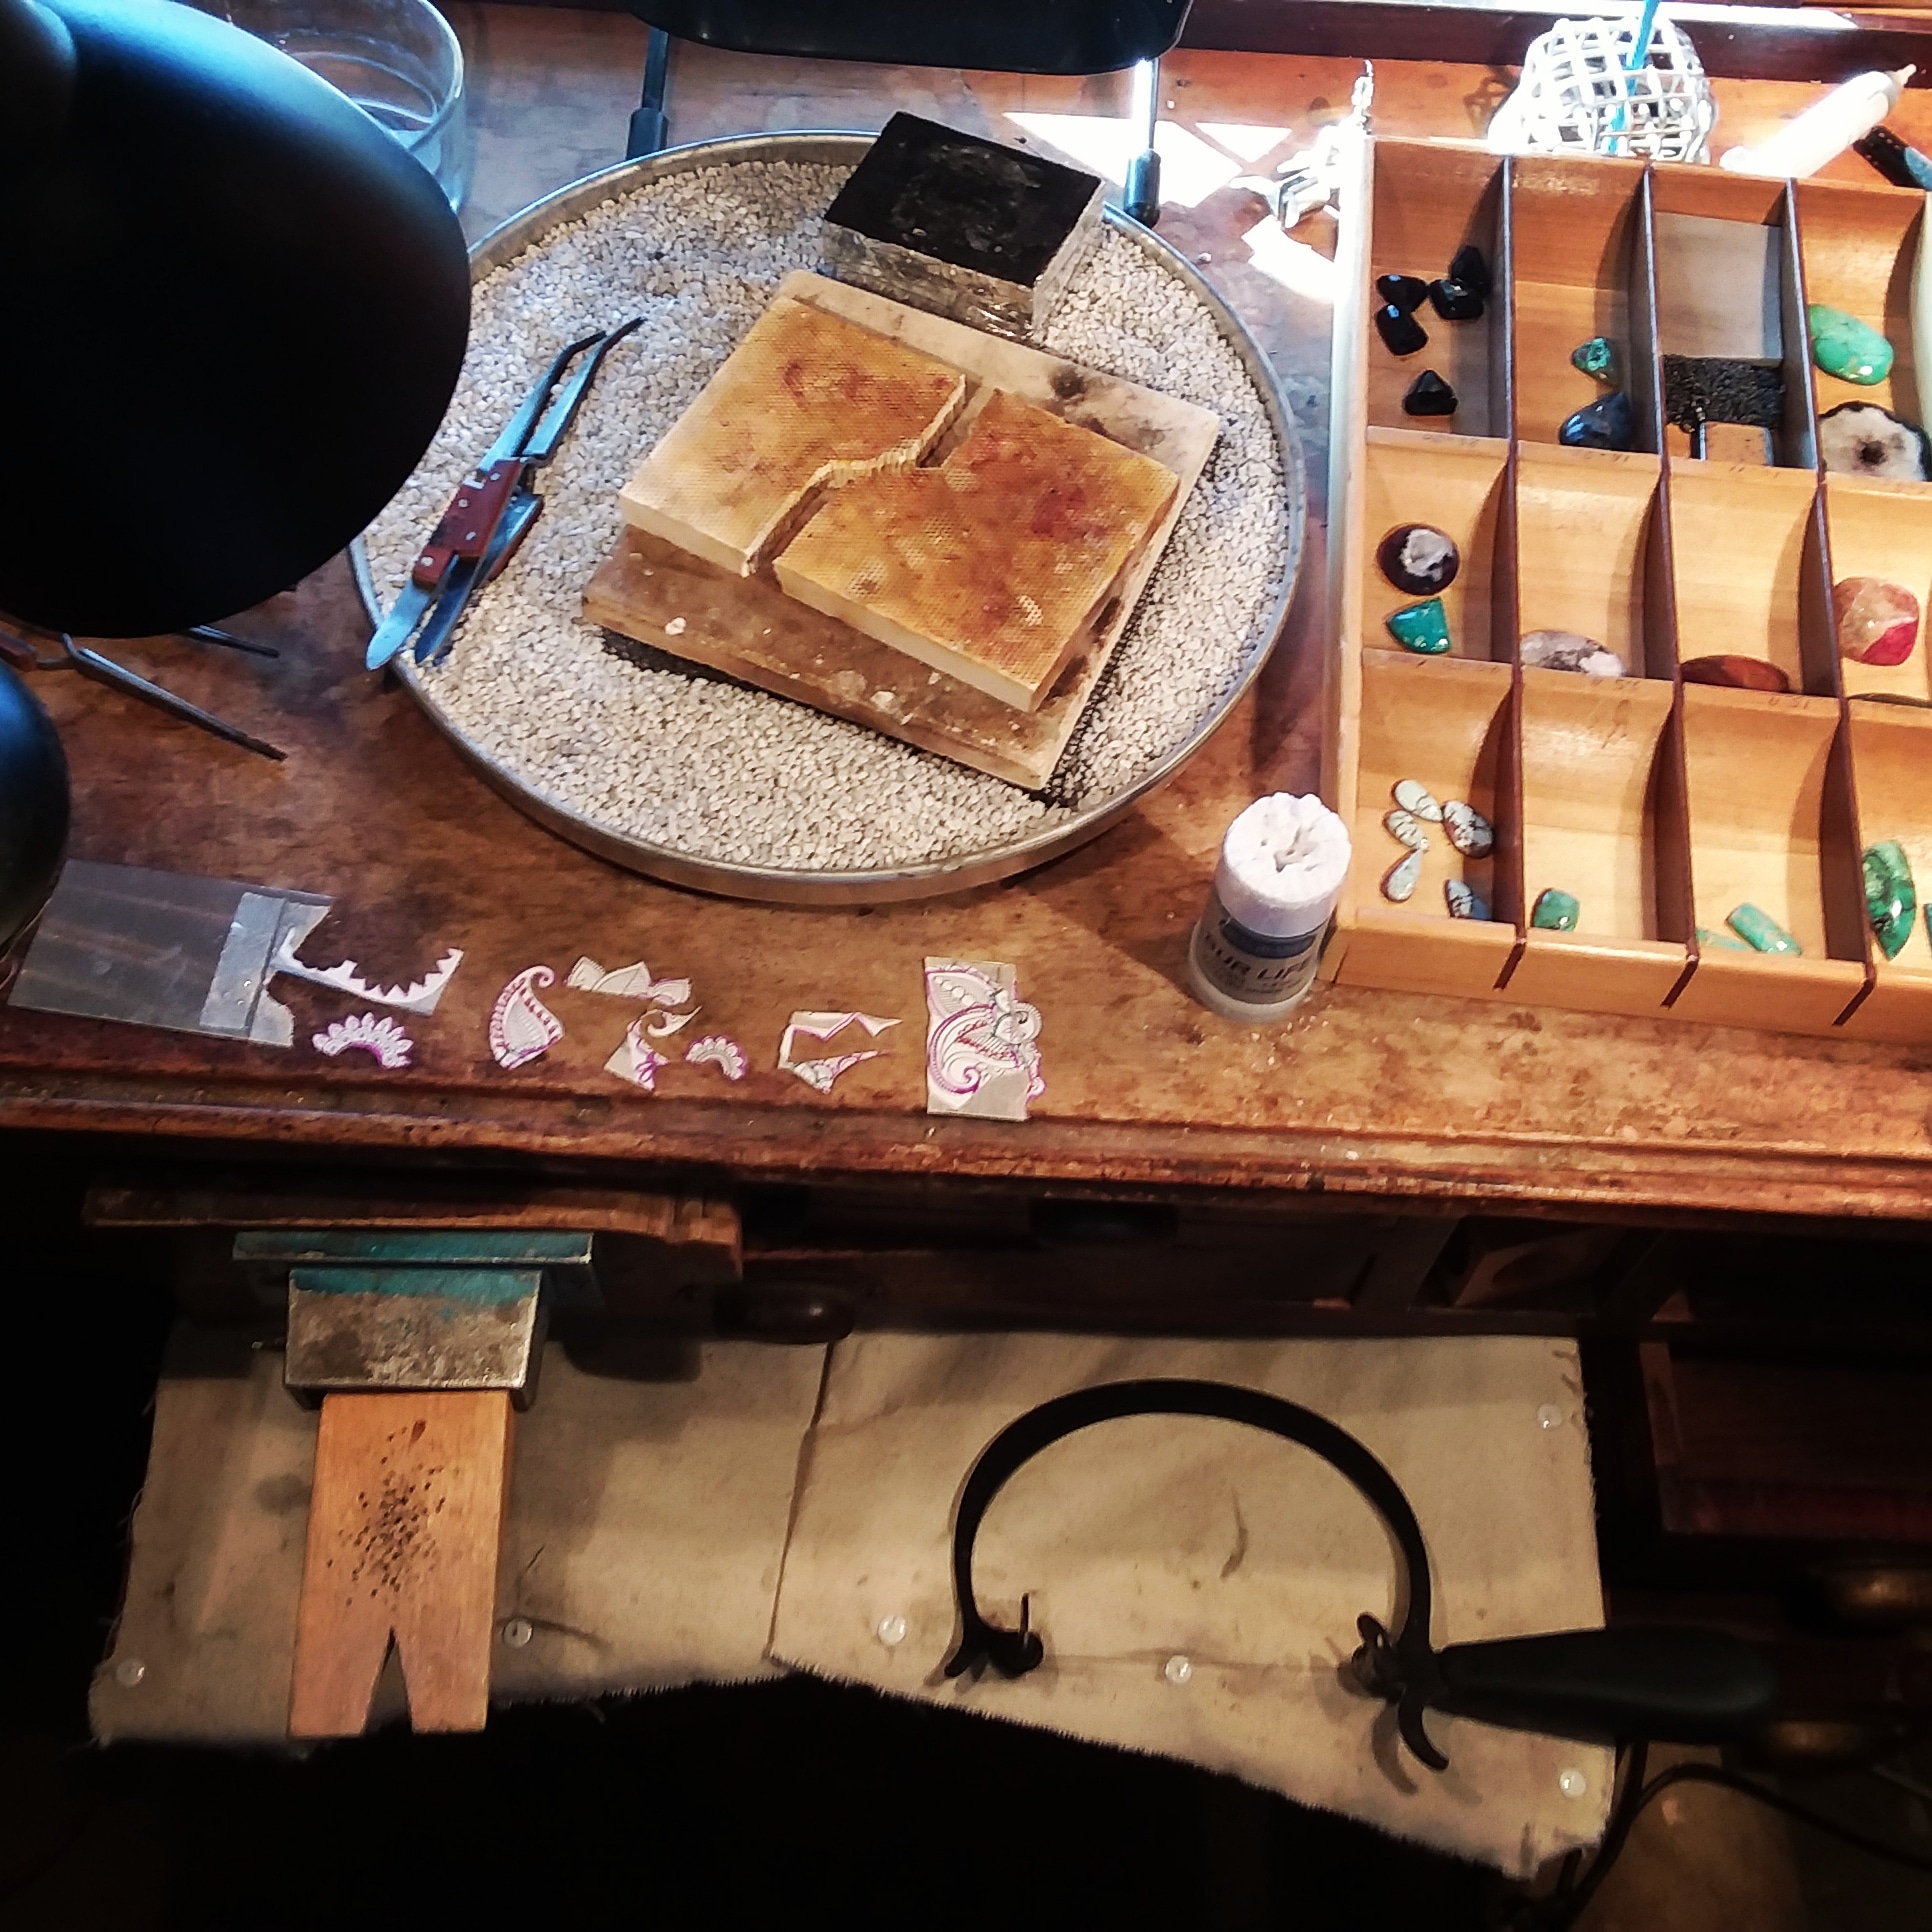
Heat Surface
Honeycomb Ceramic Board (my #1 choice)
Annealing Pan with pumice get you one with a 3rd hand, mighty helpful.. (this one took me awhile to invest in, should have been one of the first tools I purchased when starting)
Charcoal block (wrap outside edge in dryer tape and binding wire (steel wire) to keep together, I use a small one and use every now and then for small projects)
Steel kiln shelf (can use for soldering on top of your piece, and move heat underneath. What I use to set my PMC on to fire in kiln.)
Holding Helpers
Third hand (great for holding bails or ring shanks in place while soldering)
Cross locking grip tweezers I can’t create without these, had them from my start. These are perfect to hold your silver pieces in place when they're too hot to handle. I chose to work with cross-locking fiber grip steel tweezers as they offer a heat-resistant grip and a curved tip, which makes picking up silver pieces off my soldering board a bit easier. Plus, I really enjoy the cross-locking feature because I don't have to keep a steady "squeeze" on the handle, they hold my silver for me.
Silver Solder Paste, Easy (I use mostly to solder jump rings closed, and small tiny projects) Silver solder paste is a marvelous product that includes both solder and flux. I started out using "easy" paste, which melts at a lower temperature and will be all you need to solder 20 gauge wire. Only using a tiny blob on each joint to be soldered, this stuff goes a long way. This paste is so easy to use, and doesn't create a big mess when soldering. Plus you don't have to add a separate flux when you're soldering, which makes it that much easier.
Solder sheet to be clipped up Solder wire to be clipped up.
Soldering pick (you need one, two or three) Titanium is best, holds up to heat well.
Silver Prep
Handy Flux A great flow flux designed to help the solder flow and coat your silver before soldering to avoid burns or fire scale. Use a natural bristle brush to apply this paste before soldering. Heat your piece until it bubbles and turns clear, then add your silver solder and watch the flash as it joins. All fluxes are designed to absorb oxygen and prevent oxides from building up. Which in turn helps the solder to flow.
Firescoff is also a fantastic flux and fire coat. This comes in a spray so heat your piece a touch and then spray on to your piece and continue on your merry soldering way.
Boric Acid (mixed with denatured alcohol) makes a nice silver barrier flux for your silver, barrier flux is designed to prevent fire-scale. Both are highly flammable. Keep in a glass jar with a lid and make sure to close after every use to avoid spills and unwanted flames.
Silver Prep Pickle Mix. This is my favorite choice as a natural mixture. Cleans your piece of flux residue after soldering. If soldering multiple embellishments to your piece, often helps to pickle a few times during the process to make sure you have a clean surface so solder will flow easier.
It is natural and non-toxic. Using 1 tablespoon per 1 cup distilled water, this powder goes a long way. Bring mix and distilled water to just under boiling temp in a small cooking crock pot that you'll use only for your silver prep pickle mix. Do not cook food in this pot after pickling. It’s forevermore a jewelry tool. After pickling, your piece may turn white or dull silver, but it can easily be polished up to a nice shine.
Finishing Tools
German shears (from CoolTools) make clipping wire easy
Wire cutters/ clips
Jewelers saw frame (*Greenlion Saw is my favorite)
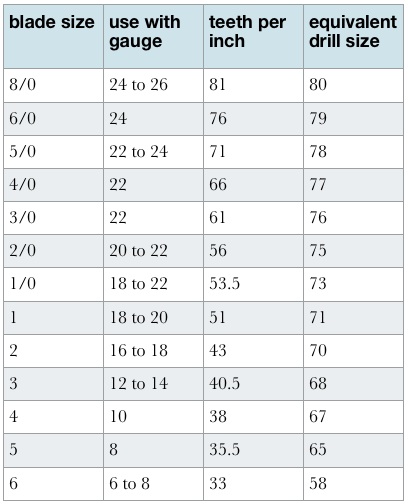
Saw blades (see sizing chart, right)
Pliers. Let’s face it, there are too many shapes and sizes and uses to count, so choose just a few basic pairs, most likely 1 flat and 1 round at first, and grow your stash as you find out what you need as you create.
Hand files, get at least 1 flat and 1 round, then just like pliers, add other file shapes and grits as you learn what you need along your journey.
Rotary Tool or Flex Shaft. Dremel is a cheaper option, but Foredom is better quality. My flex shaft is second hand Grobet. It works well for me now, but when it dies, I’ll most likely look into a Foredom. Get a quick change head. I use a chuck key but plan to upgrade to quick-change soon for faster working.
Brass Bristle Brush or Wheel. After pickling clean your silver, you’ll need to burnish your piece with a brash bristle brush to bring out a silver shine. I began using a hand brush, but after beating my fingers to shreds, I finally learned using a wheel brush on a flex shaft is a bit easier, not completely pain free, but better.
Note to the Brand New Silver Smith in the making:
Hi, I’m Laura! I am a self-taught metalsmith. I’ve never attended a smithing or jewelry class in my life. Not sure if that’s something to be proud of or not, but it’s just truth. I’m a busy Momma of 5 now, with my youngest a special medical needs kiddo, which does not leave a lot of time for fun classes, it seems like. Ever. Maybe one day for me.
When I began my jewelry journey in 2005, I was a single mother, just finishing up my Bachelors in English. I knew I wanted to create with fire, but I didn’t know where to begin or what to get or who to go to. I was clueless.
But after months of studying other artists on youtube in the middle of the night, and watching other makers come out with new work in their Etsy shops, I slowly began to build my arsenal of tools and knowledge. Some I regret purchasing all together, some I should have bought years before I did. But it’s all a series of learning curves on this journey of the maker, right?
I’m not claiming to be any kind of expert or guru of silversmithing, I’m just here to tell you what I have learned works best for me and my work, and it is my hope you can glean something useful for yourself. And maybe it’ll help propel you along the winding road of creating beautiful works in your life!